From straightforward 2D animations to intricate 3D animations, How To Pivot Points Alight Motion is a potent animation tool that can be used to generate a range of animations. It may be downloaded and used for free and is accessible for both iOS and Android devices.
You must first build a project in Alight Motion before adding layers to it so that you may animation. A textual sentence, an image, or a video clip are examples of the various objects or elements that can be contained within a layer. The objects on each layer can then be moved, resized, and otherwise altered using the animation capabilities in the program.
Keyframes, easing curves, and tweens, among other tools, are included in Alight Motion for making and altering animations. You may make fluid and supple animations with the help of these tools.
Alight Motion can at first seem a little intimidating if you are new to animation. The good news is that you can start by using some of the instructions that are available on This Articles. Amazing animations can be made with Alight Motion if you master the fundamentals.
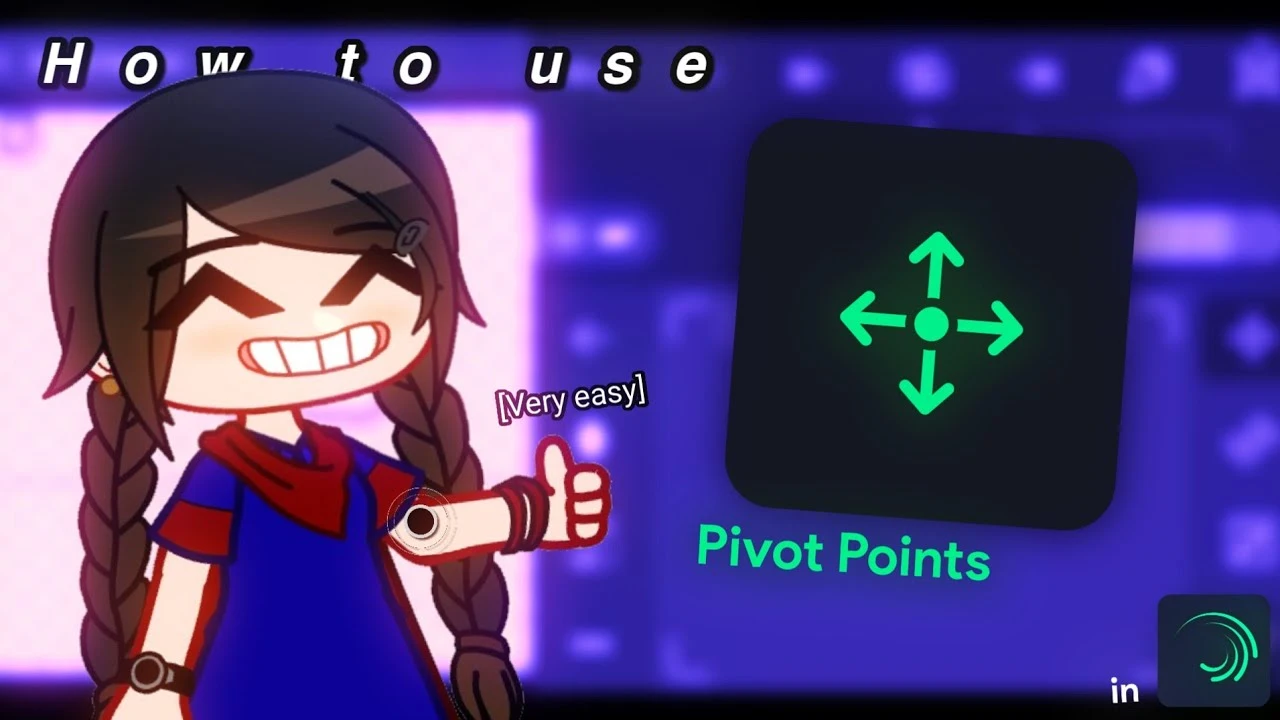
What are pivot points?
Hello! We will learn about pivot points in this article, including what they do, how they operate, and how to modify them in Alight Motion. To construct a social media campaign, we’ll use the pivot points (How To Pivot Points) knowledge we’ve gained. We’ll show that both animation styles may be achieved by merely adjusting the position of the pivot point for the Like and Thumbs Up icons. Please download the sample projects from the description if you want to follow along. Let’s get going!
How To Pivot Points – Animating in Alight Motion
Simply described, a shape or item rotates or scales from the pivot point of a layer. For this shape layer, the pivot point will be moved from its default location in the center of the layer so that we may duplicate the animation from the intro.
Let’s pick the layer by tapping it, then click “Move and Transform. ” We can change the layer’s position, pivot point, rotation, scale, and skew in this panel. The form is now rotating from its center point, which is not what we want. To change this, go to the shape’s rotation attribute and add some rotation. Simply tap the position symbol once, then hit it again to edit the pivot point.
The layer position and pivot point editing panels can be switched between by tapping the position icon. We’ve added wording to the center of the controlpad to assist you distinguish between editing position and pivot points. You’ll see “Swipe here to move layer” on the controlpad while altering the layer position.
By moving the shape in the preview by swiping our finger across the control pad, we can verify this. After undoing this action, tap position once again. “Swipe here to move pivot point” is now the text, as you can see. Now, when you swipe on the control pad, you will notice that the pivot point is moving as opposed to the layer moving.
Let’s move the pivot point to the bottom left corner of this shape to match the introduction. You can see that it is now rotating from the bottom left corner rather than the middle if we hit the rotation symbol once more and add more rotation. Going to the scale panel will also show us that the layer scales from the same location. To restore the layer’s original size, let’s undo.

What are keyframes?
Now let’s add keyframes and get ready to start animating! Keyframes come in a variety of forms. Every property has its own keyframes that you may use to control it, including position, rotation, scale, color, and so on.
Alight Motion will know that you want the selected property to have the value you specify at the time of the keyframe when you place a keyframe on a layer. Keyframes must now be added in order to generate our animation. Make sure the scale attribute is selected since we’re going to create a scaling animation.
First, let’s add a scale keyframe at the point where we want our animation to terminate. Next, let’s go back to the layer’s first layer and shrink the shape. You can see that it is scaling from the pivot point, just like before. Let’s add this softening curve preset to make the motion appear more natural.
The way that the animation develops over time is altered by easing curves. In our film on the subject, we go into greater detail about them. We can now watch the layer expand in size if we play our animation. Let’s add some rotation to our animation to make it even better.
The rotation icon can be accessed by tapping “Move and Transform” first. Add a keyframe and position the playhead at the time indicated on the screen. Go back to the layer’s beginning and rotate it now.
There will be an automatic creation of a second keyframe. Play the animation once again to see how it develops! Let’s complete this animation now. Tap Easing, then tap the overflow menu under Move and Transform while the rotation panel is still visible. Toggle overshoot enabled.
This will enable our animation to move past the keyframe values and then retract. In our softening curves video, we cover overshoot in more detail.
Let’s give our curve a tiny bit of overshoot. Try to replicate what you see on the screen with yours! Now, if we scroll over the timeline, we can observe that the thumb progressively rises above zero before falling. Playing it will show you how adding overshoot alters the animation’s mood. Applying what we’ve learnt to our second case will be helpful.
In this instance, we’ll relocate the pivot point to the bottom and then use ease to animate the scale and rotation to produce the visual effects you see on the screen. To alter the layer’s pivot point, let’s tap the layer again, then Move and Transform, and then tap the position icon, even though it is already highlighted.
So that the layer rotates and scales from the bottom, let’s shift the pivot point to the bottom of the shape. Move the playhead to the desired location for the animation’s conclusion, then hit the scale icon to add a scale keyframe. Add the easing curve preset you see on the screen after moving the playhead back to the start of this layer and scaling virtually to zero.
To show our scaling animation in action, let’s tap play. Let’s now include the rotation. Once more advancing the playhead to the finish of the animation, let’s add a keyframe for the rotation. Return to the beginning and introduce some rotation now.
The layer will bounce back and forth before settling at its ultimate value if we add this softening curve setting. If the animation overshoots too far, the softening curve can be changed to make it less aggressive. You can see how changing the pivot point of the layer resulted in some engaging animation with both of these animations! Please make sure to inquire in the comments if you have any questions. We’ll make every effort to be of assistance.
The way that the animation develops over time is altered by easing curves. In our film on the subject, we go into greater detail about them. We can now watch the layer expand in size if we play our animation. Let’s add some rotation to our animation to make it even better.
The rotation icon can be accessed by tapping “Move and Transform” first. Add a keyframe and position the playhead at the time indicated on the screen. Go back to the layer’s beginning and rotate it now. There will be an automatic creation of a second keyframe. Play the animation once again to see how it develops! Let’s complete this animation now.
Overshoot Animation Example
Tap Easing, then tap the overflow menu under Move and Transform while the rotation panel is still visible. Toggle overshoot enabled. This will enable our animation to move past the keyframe values and then retract. In our softening curves video, we cover overshoot in more detail.
Let’s give our curve a tiny bit of overshoot. Try to replicate what you see on the screen with yours! Now, if we scroll over the timeline, we can observe that the thumb progressively rises above zero before falling. Playing it will show you how adding overshoot alters the animation’s mood.
Elastic Animation Example
Applying what we’ve learnt to our second case will be helpful. In this instance, we’ll relocate the pivot point to the bottom and then use ease to animate the scale and rotation to produce the visual effects you see on the screen. To alter the layer’s pivot point, let’s tap the layer again, then Move and Transform, and then tap the position icon, even though it is already highlighted.
So that the layer rotates and scales from the bottom, let’s shift the pivot point to the bottom of the shape. Move the playhead to the desired location for the animation’s conclusion, then hit the scale icon to add a scale keyframe.
Add the easing curve preset you see on the screen after moving the playhead back to the start of this layer and scaling virtually to zero. To show our scaling animation in action, let’s tap play. Let’s now include the rotation.
Summary
Once more advancing the playhead to the finish of the animation, let’s add a keyframe for the rotation. Return to the beginning and introduce some rotation now. The layer will bounce back and forth before settling at its ultimate value if we add this softening curve setting. If the animation overshoots too far, the softening curve can be changed to make it less aggressive.
Note: The information provided on this website regarding modded games and apps is based on data collected from public domains. I am not a professional apps and games developer. While I strive to provide accurate and up-to-date information, I cannot guarantee the absolute accuracy or completeness of the data. The content on this website should not be considered a substitute for professional Apps developer guidance. The readers are advised to use the apps and games provided at their own discretion and risk. I do not assume any responsibility for any consequences arising from the use of the information on this website.